
You may have seen my po st introducing slacklining. (If you haven’t, you can check it out here.) You may have decided it is something you’d like to try and learn. Well, this post could help you!
Before I start, I’m very cautious of posting this for two reasons;
Firstly, I’m currently very much a beginner myself and still learning, and therefore I question what authority I have to attempt to help other people. That may also be an advantage however, as I can understand the difficulty newbies experience.
Secondly, slack-lining is very much about creativity and finding out what works for you, and developing your own style. There is not really a correct technique, so better than all the advice I’m about to give is to just jump on the line and give it a go!* But these simple pointers, things I’ve learnt in the first few weeks months may just make it that little bit easier and more enjoyable, meaning you can get out and send some bigger and higher lines, and impress your mates with some tricks!
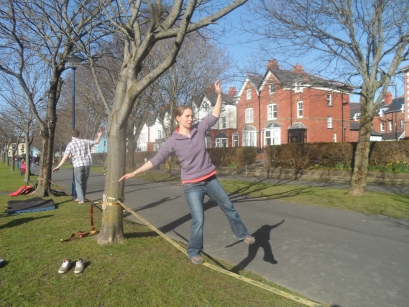
1) When putting your feet on the line, point them down the line, directed at the anchor point in the end. You’ll probably make it more difficult for you in the long run if your feet point away from the end of the line.
2) You’re trying to balance. That’s usually easier when you’re focussing on something still in the distance. Most beginners who jump on the line will look straight at their feet – it feels natural but will only make it harder. Instead, look at a point ahead, it may be part of a tree or building, although I like the point where your slackline is attached to the anchor as I find you can see the line in your periphery and this helps place your foot on the line without looking at the line.
3) As you spend time on the line, you will improve. Fact! Not only will you get used to it, but you’ll develop stabiliser muscles not normally used which make it easier and cut out that infamous disco leg.
4) Vary how tight the line is. You will probably find a tension that makes it easier to learn on. When I was beginning, I preferred a really tight line, so any mistake was penalised less, and the line swayed less. Now a prefer a much slacker line so if any mistake is made, it is easier to correct!
5) In the middle of the slackline you are furthest from the anchors, and so the line can sway more. You’ll probably find it hardest to stay on the line here!
6) When you think of balance, you probably feel 2 legs give more balance. True, on the ground, but when slacking 1 leg is better than 2. It goes against all your instincts which are to get as many points of contact as you can, but with 2 legs on the line, your base will be narrow, and you’ll be unstable, but with one leg off the line you can use to help balance by stretching it to the side..
7) Bend your leg slightly – some of the movement in the line will be automatically absorbed by your leg, and won’t throw you off balance.
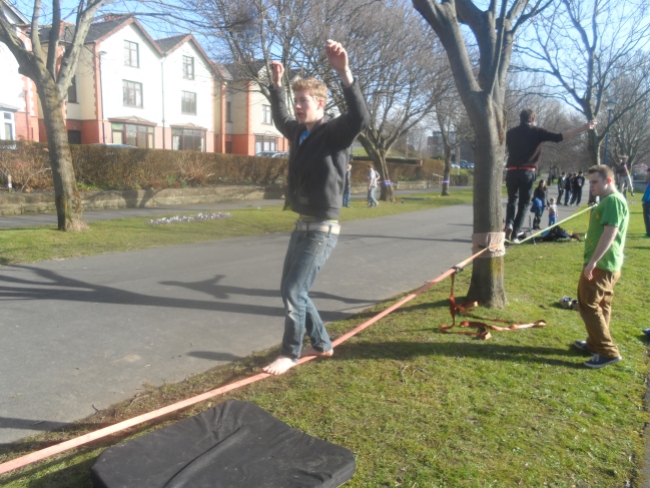
8) High 5! No seriously, put your hands and arms high in the air, it will make such a difference. You can use your arms to help bring you back on balance! The higher they are the more of an impact they will have on your balance.
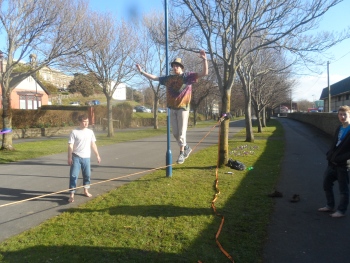
But all important, as said above – get out and spend time on the line. Play around with the principles in this post. Lean on someone if you need, lean on two people if you need, but actually slacklining is the only way to improve. Be ambitious and try crazy things.
Stay tuned and subscribe for more slacklining related updates!
*Maybe don’t literally jump on the line quite yet if it’s your first go. Or do, and see how it goes – What’s the worst that can happen?
[…] Wanna walk your first line? Of course you do, grab a quick read here! […]